

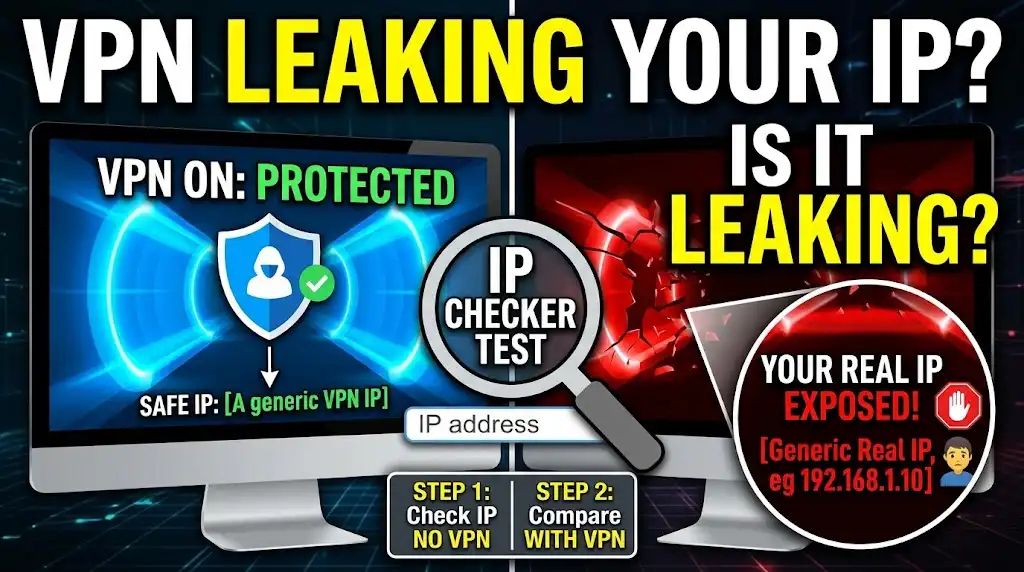
How to Check if a VPN Is Leaking Your Real IP (2026 Security Guide)
You've installed a VPN, connected to a server, and the little icon says "Connected." But is your real IP address actually hidden? Many people assume their VPN is protecting them when, in fact, it's leaking their true identity through DNS requests, WebRTC, or IPv6. An IP leak can expose your location, browsing habits, and personal data—even while you think you're anonymous. In this guide, we'll walk you through how to check if a VPN is leaking your real IP, step by step. These tests are free, take only minutes, and could save you from a serious privacy breach.
What Is a VPN IP Leak?
A VPN IP leak occurs when your real IP address is exposed despite being connected to a VPN. This can happen in several ways:
- DNS leak: Your device sends DNS queries (website address lookups) outside the VPN tunnel, revealing which sites you visit.
- WebRTC leak: WebRTC, a browser feature for real-time communication, can expose your local and public IP addresses even when using a VPN.
- IPv6 leak: Many VPNs only encrypt IPv4 traffic. If your network uses IPv6, your traffic may bypass the tunnel entirely.
- Transparent proxy or misconfiguration: VPN server errors can occasionally send data outside the encrypted tunnel.
Each type of leak is fixable, but first you need to identify whether you're affected. The following tests will help.
What You'll Need
Before starting, make sure you have:
- Your VPN disconnected (to note your real IP address).
- Your VPN connected (to compare with the VPN IP).
- A web browser (Chrome, Firefox, Edge, Safari, or Brave).
- Internet access.
- A notepad or note-taking app to record results.
Step 1: Find Your Real IP Address (Before Connecting VPN)
Disconnect your VPN. Open a browser and go to a website that displays your IP address, such as whatismyipaddress.com or ipleak.net. Write down the IPv4 address you see. This is your real IP.
Step 2: Connect to Your VPN and Check the IP Again
Connect to a VPN server in a different location. Wait a few seconds for the connection to stabilize. Now visit the same IP display website again. The IP should be different from your real one—it should be the VPN server's IP.
If the IP is still your real one, your VPN is not working at all. If it's different, proceed to the next tests to check for deeper leaks.
Step 3: Test for DNS Leaks
Visit dnsleaktest.com while connected to your VPN. Click "Standard Test" or "Extended Test." The results should show DNS servers belonging to your VPN provider, not your ISP. If you see your ISP's servers or servers in your physical location, you have a DNS leak.
Fix: In your VPN app, enable "DNS leak protection" or manually set DNS to a public provider like 1.1.1.1 or 8.8.8.8.
Step 4: Test for WebRTC Leaks
Go to browserleaks.com/webrtc while connected to your VPN. Look at the "Public IP Address" section. If it shows your real IP or local network IP, you have a WebRTC leak.
Fix: Disable WebRTC in your browser settings, or use a browser extension like "WebRTC Leak Prevent" (Chrome/Firefox). Some VPN apps also have a "Block WebRTC" option.
Step 5: Test for IPv6 Leaks
Visit ipv6leak.com while connected to your VPN. If an IPv6 address is detected and it's not from your VPN provider, you have an IPv6 leak.
Fix: Disable IPv6 on your device or router, or choose a VPN that supports full IPv6 encryption.
Step 6: Use a Comprehensive Leak Test Site
For an all-in-one check, visit ipleak.net while connected to your VPN. This site tests IP, DNS, WebRTC, and IPv6 simultaneously. Compare all displayed addresses with your real IP and the VPN IP. If any match your real IP, you have a leak.
What to Do If You Find a Leak
Don't panic—leaks are common and usually fixable:
- Update your VPN app. The latest version may include leak fixes.
- Enable leak protection features. Look for DNS leak protection, IPv6 leak prevention, and kill switch in your VPN settings.
- Change VPN protocols. Switch to WireGuard or OpenVPN, which often handle leaks better.
- Disable WebRTC in your browser. This is a major source of leaks and not always controlled by the VPN.
- Consider a different VPN provider. If leaks persist, your current VPN may not be reliable. Research VPNs with verified leak protection.
Real-World Example: A Researcher Discovers a WebRTC Leak
Sara, a freelance researcher, frequently used a VPN to access geo-restricted academic journals. She assumed her location was hidden. One day, a colleague sent her a WebRTC leak test link. To her shock, the test showed her real public IP address even though she was connected to a VPN server in Germany. After disabling WebRTC in her browser and enabling DNS leak protection in her VPN app, the leak disappeared. Sara now runs leak tests every month to ensure her privacy. "I had no idea my VPN wasn't fully protecting me," she said. "Everyone should test regularly."
Frequently Asked Questions
How often should I check my VPN for leaks?
It's a good practice to test monthly, or after updating your VPN app, browser, or operating system. New versions can inadvertently introduce leaks.
Are free VPNs more likely to leak?
Yes, free VPNs often lack robust leak protection and may even intentionally log or sell your data. For reliable privacy, use a reputable paid VPN with a verified no-logs policy and leak protection features.
Can my browser cause IP leaks even with a VPN?
Yes. WebRTC, which is built into most browsers, can leak your IP address even when a VPN is active. Disable WebRTC or use an extension to block it.
What is a kill switch and does it prevent leaks?
A kill switch automatically cuts your internet connection if the VPN drops, preventing data from being sent outside the tunnel. It doesn't fix DNS or WebRTC leaks directly, but it adds an essential layer of protection.
Can I test for leaks on my phone?
Absolutely. Open any browser on your phone, connect to your VPN, and visit the same test sites (ipleak.net, browserleaks.com). WebRTC leaks are especially common on mobile browsers like Chrome.
Conclusion: Verify Your VPN Is Really Protecting You
A VPN is only as good as its leak protection. By following the simple steps in this guide, you can confirm whether your real IP is truly hidden or if your privacy is at risk. Make leak testing a regular habit—it takes less than five minutes and can prevent serious exposure. Your online safety depends on it.
Discussion (0)
No comments yet. Be the first to share your thoughts!